
Calibrate a pH meter using the correct buffer family, the buffer values at the calibration temperature and a sound electrode. Follow the supplied meter and electrode procedure, then verify with a suitable independent check. A stable display alone does not prove the system is measuring correctly.
Prepare the electrode, buffers and process
- Identify the meter, electrode, temperature input and required acceptance limits. Inspect the glass, reference junction, cable and any refill condition.
- Clean and condition the electrode using instructions for its actual materials and contamination. Keep connectors dry and prepare separate clean buffer portions.
- Check buffer lot, expiry and temperature information. Do not return used buffer to its bottle.
- For an online controller, arrange authorized handling of dosing, alarms and outputs before sensor removal or calibration; restore normal operation only after verification.
Choose the correct buffer family and calibration points
A meter’s configured buffer table must match the buffers used. For example, nominal 4.01/7.00/10.01 and 4.01/6.86/9.18 sets are different families. Their actual values also vary with temperature. Use the bottle certificate or temperature table and the meter’s supported procedure instead of forcing every first point to 7.00.
Choose points that bracket the expected sample interval where the method permits. Two points commonly establish offset and slope over a selected interval; a supported third point can assess a wider range. More points cannot repair a damaged electrode or contaminated buffers. A one-point process adjustment is not automatically equivalent to a full slope calibration.
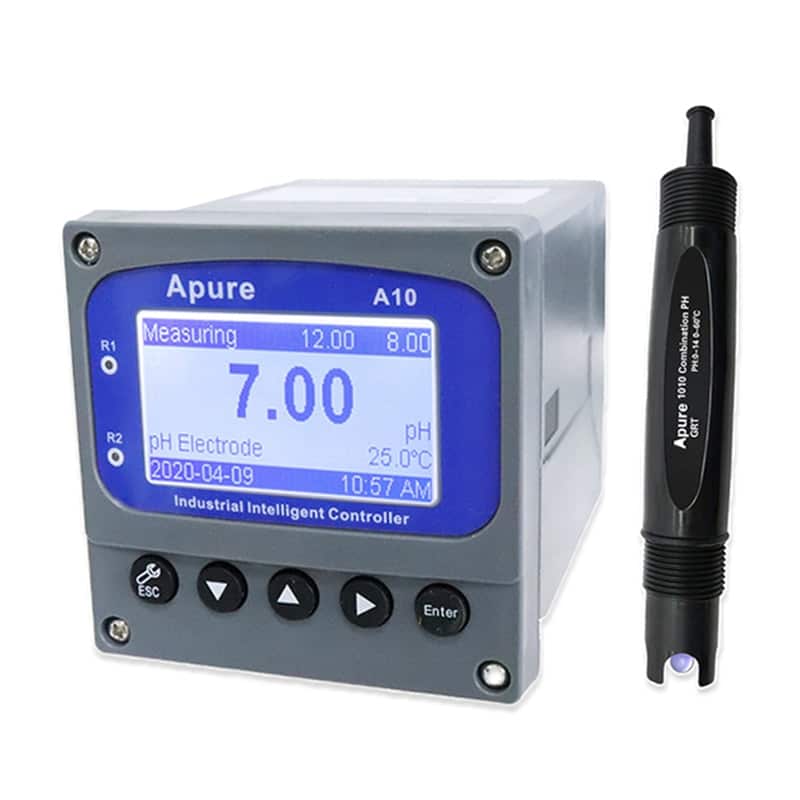
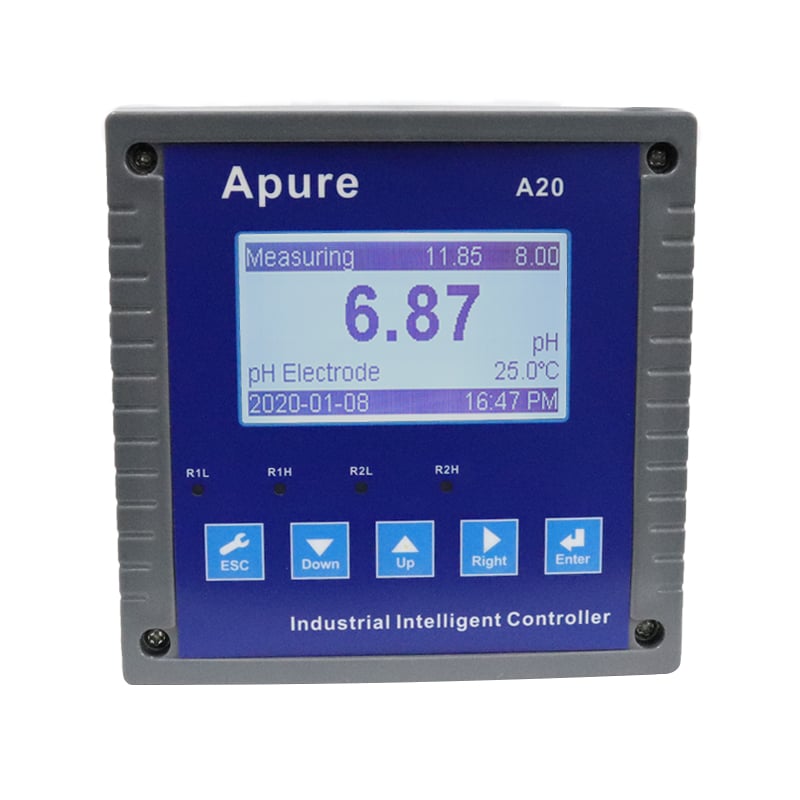

Calibrate and verify step by step
- Rinse between solutions as directed and remove excess rinse water without rubbing the glass bulb. Avoid contaminating the next buffer.
- Select the correct buffer set and confirm the temperature reading. Allow the electrode and buffer to equilibrate and the response to stabilize.
- Accept the first point using the instrument’s procedure and the correct temperature-dependent value. Repeat for the required remaining point or points, rinsing between them.
- Review slope, offset, stability and diagnostic results against the actual model/method limits. Investigate a rejected calibration rather than forcing it to pass.
- Check with a suitable independent solution or reference procedure. Record the result and acceptance decision.
- Rinse and return the probe to representative sample conditions, allow stabilization, and confirm the complete online loop where applicable.
Laboratory and online calibration have different handling needs
On a phone, swipe comparison tables sideways to see every column.
| Item | Laboratory or portable meter | Online controller |
|---|---|---|
| Access and condition | Inspect the accessible probe and sample containers. | Arrange safe removal or use a suitable calibration holder; account for deposits and process conditions. |
| Temperature | Allow buffers and sample measurements to reach the conditions required by the method. | Check the temperature input and the difference between process and calibration conditions. |
| Output handling | Document any connected logging or outputs. | Manage dosing, relays, alarms and analog outputs under the site procedure. |
| Verification | Use a suitable independent check and record conditions. | Also verify the installed reading and receiving system; a mismatched or delayed grab sample may not represent the sensor location. |
Cleaning and storage are electrode-specific
There is no single acid, alkaline or solvent recipe suitable for every pH electrode. Choose a cleaning agent, concentration and contact time compatible with the glass, junction, body, seals and reference system. Use the manufacturer’s procedure for the identified deposit; do not apply a generic ethanol or acid soak to an unknown probe.
After cleaning, rinse, condition and recalibrate as directed. Store the sensing end in the specified solution and keep it hydrated as required. Long-term storage in deionized water is unsuitable for many combination electrodes. Filling electrolyte, cleaning solution and storage solution are different items and must not be substituted without instructions.
Troubleshoot a failed or drifting calibration
| Problem | Checks before replacement | Next step |
|---|---|---|
| Wrong buffer recognized | Family, temperature, buffer identity, expiry and contamination. | Use fresh correct buffers and the supported table. |
| Slow or unstable response | Dry storage, coating, junction blockage, temperature mismatch or low-ionic-strength sample. | Condition and check in a suitable buffer before judging process performance. |
| Unacceptable slope or offset | Electrode condition, reference system, cleaning and meter diagnostics. | Follow the model’s limits and service procedure; do not invent a universal pass threshold. |
| Process differs after calibration | Sampling point/time, temperature, immersion, electrical interference and installation. | Compare representative matched measurements and inspect the complete system. |
Record and schedule the next check
Record meter/electrode identity, buffers and lots, temperature, as-found checks, calibration results, adjustments and independent verification. Set the interval from the method, process risk, fouling and check history. Recheck after relevant cleaning, replacement or an unexplained shift rather than imposing one daily or annual schedule on every installation.
See pH sensor selection and troubleshooting and the Apure pH/ORP range. Confirm the actual supplied electrode and controller specifications.